Ladybug wings

Making costumes for kids is fun, you can showcase your creative side. But at the same time it can get stressful for the parents. Here I will show you a very simple step by step process to make ladybug wings which you can do within half an hour or so. The only thing you might need is the right colour felt material and some of your time. Think about all the money and the time you will save going to a store and buying a costume which the kid will probably wear just for one day.
You need:
1. Red felt (about half meter)
2. Black felt (quarter meter)
3. Cardboard or hard paper (use cardboard boxes or cereal boxes)
4. Scissors
5. Glue
6. Red thread
7. One needle
1. Red felt (about half meter)
2. Black felt (quarter meter)
3. Cardboard or hard paper (use cardboard boxes or cereal boxes)
4. Scissors
5. Glue
6. Red thread
7. One needle
Steps:
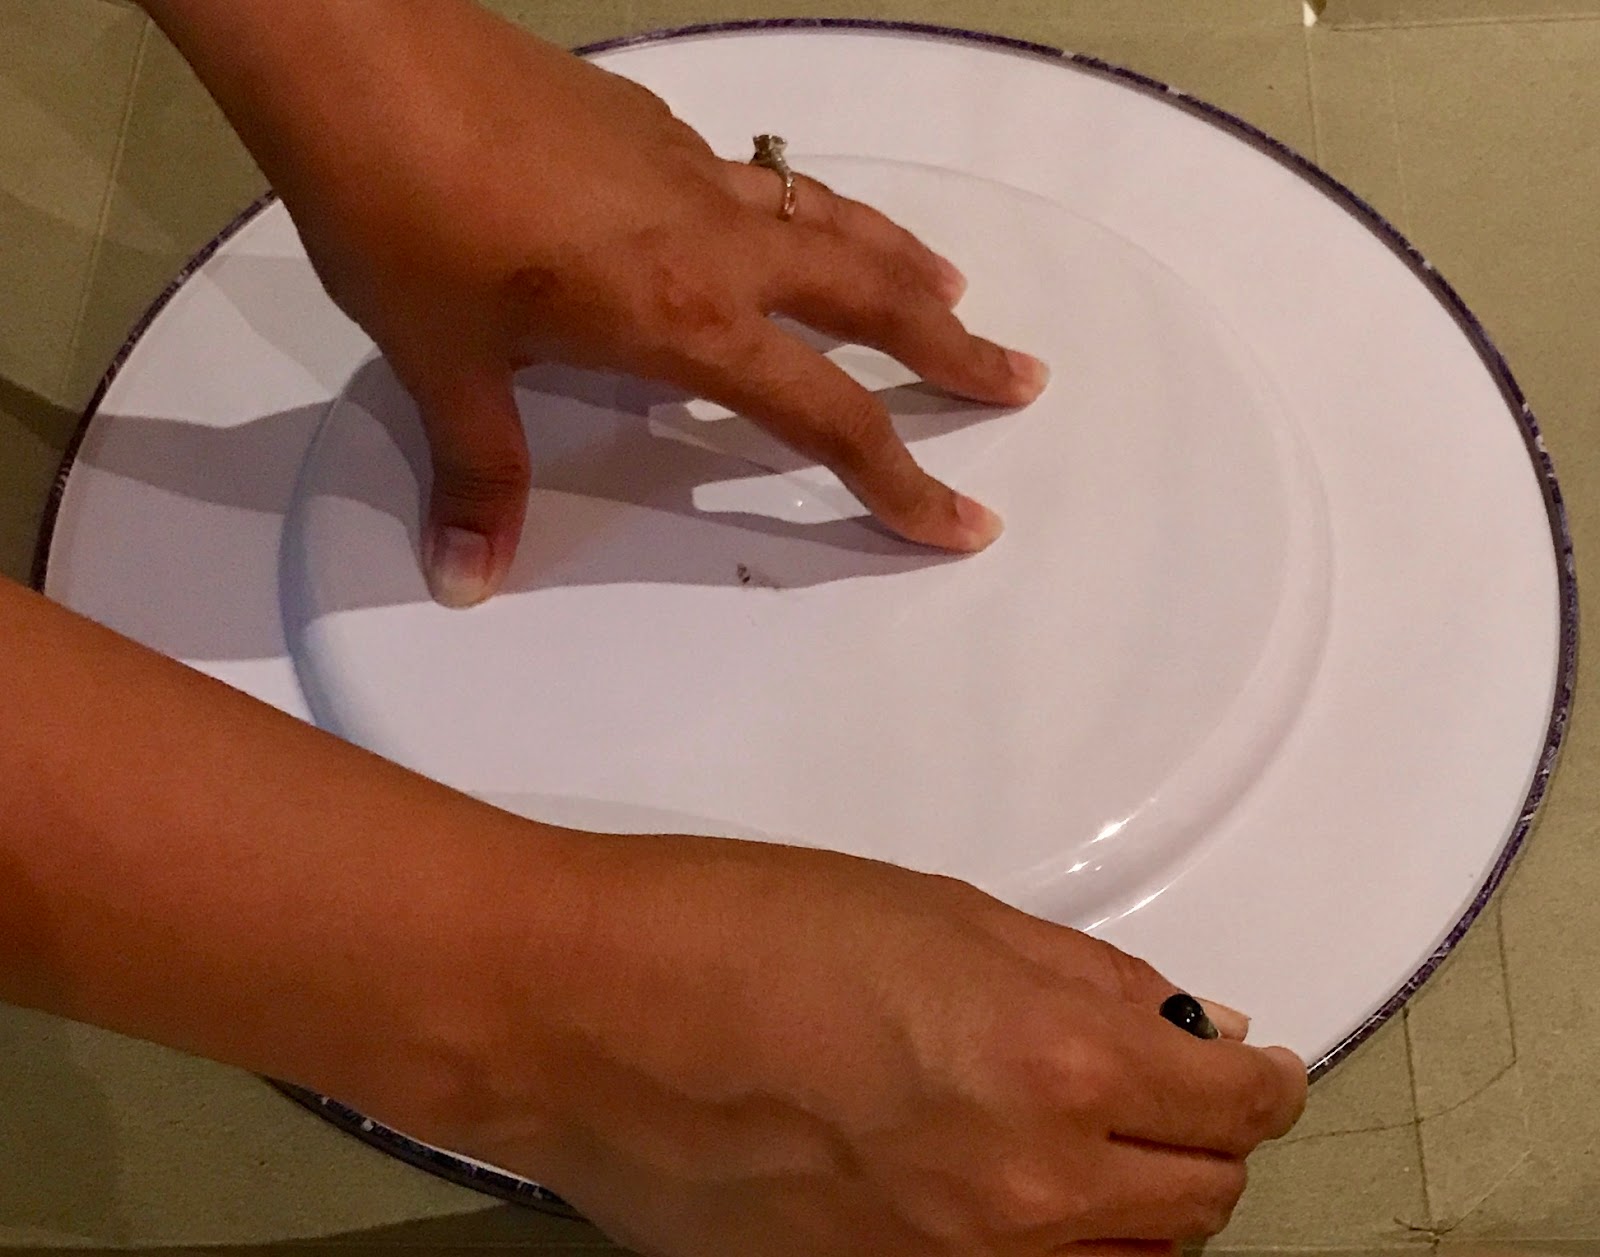
1. Draw one circle on a cardboard
or hard paper. You can use a large plate to trace the circle on the cardboard.
Cut out the cardboard circle using the scissors.

2. Draw the same shape on the red felt.
This time you need two circles – one for the front and one for the back of the
wing. Cut out the two red felt circles
using a scissor.

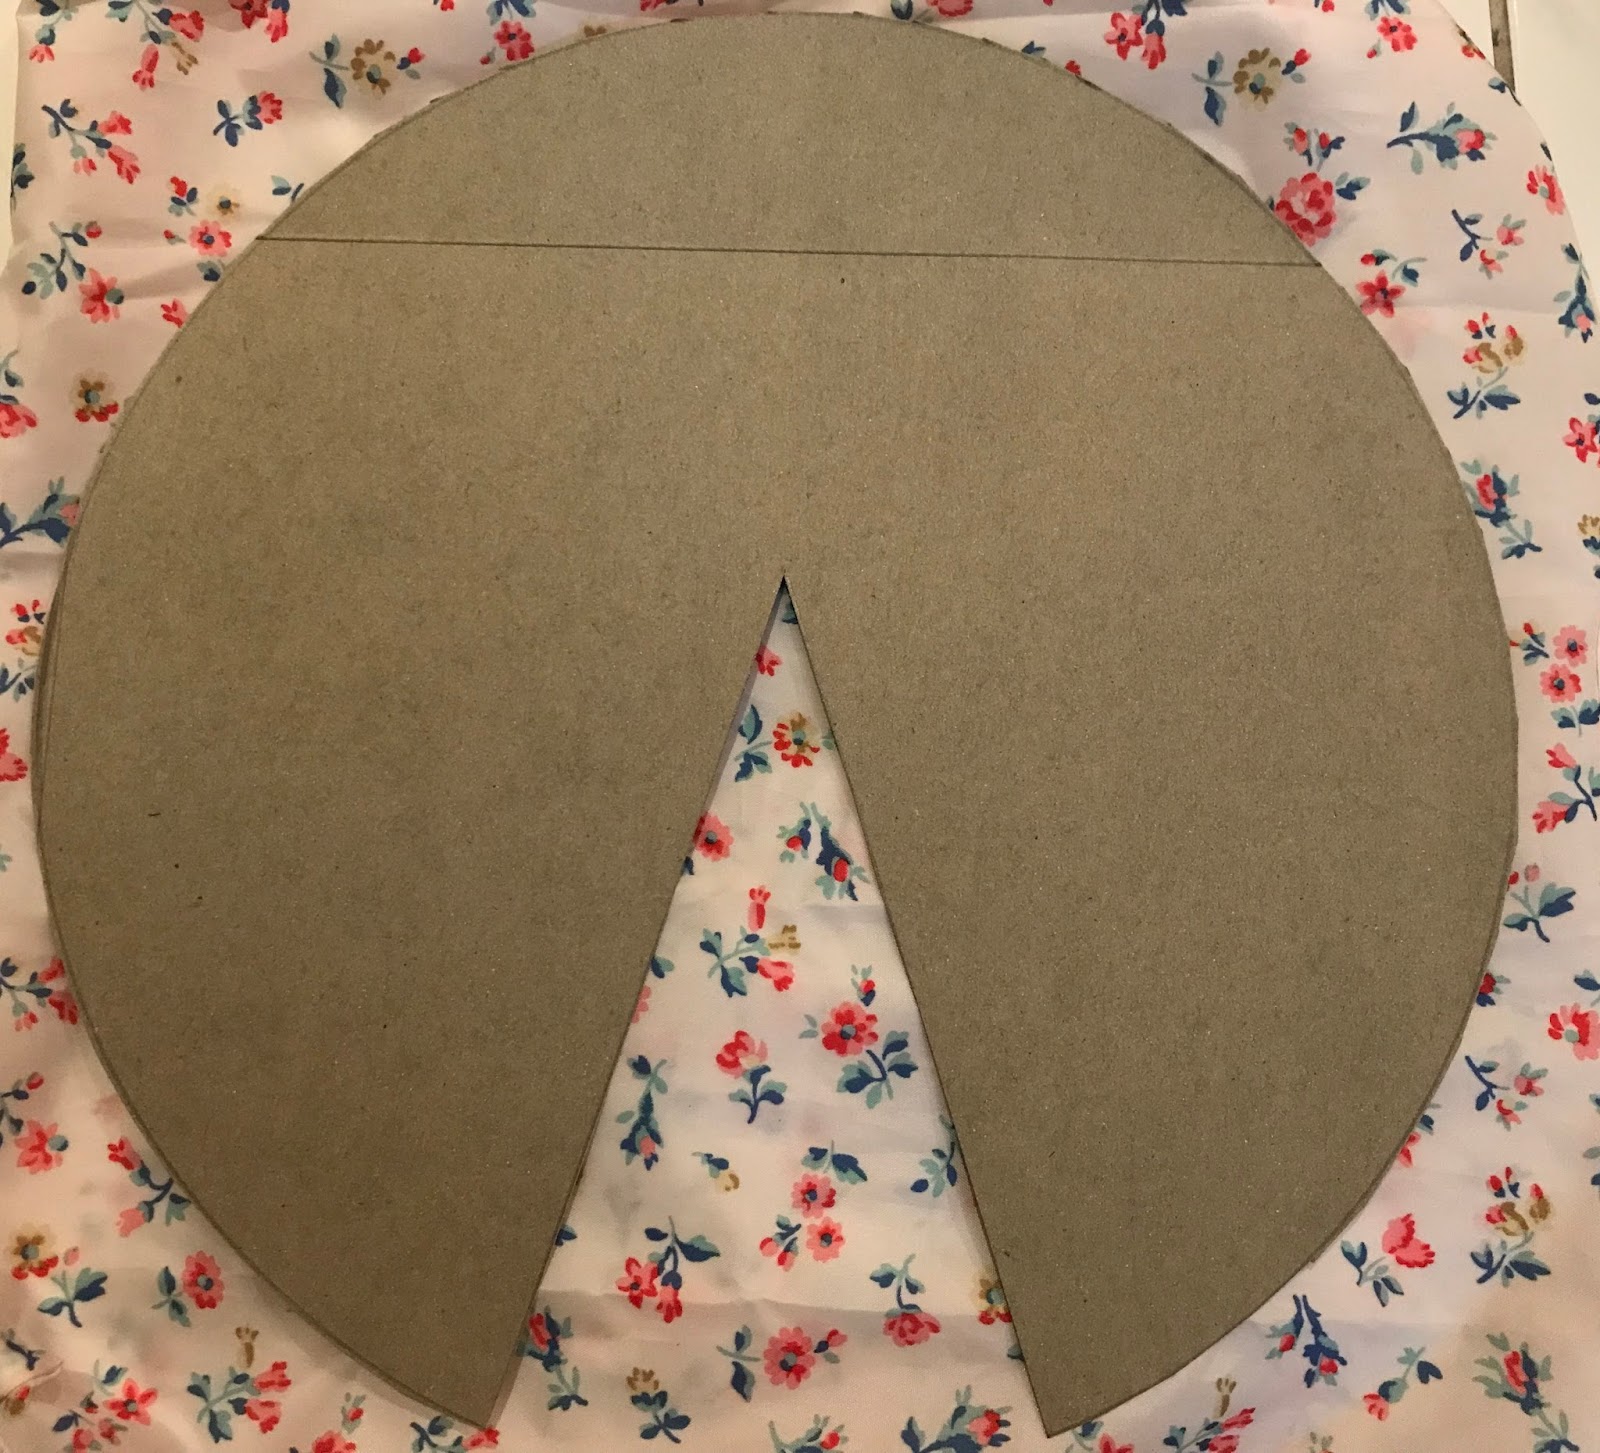
3. Cut a wedge section out from
the cardboard circle and the two red felt circles. I cut the felt circles a
little larger than the cardboard circle (1 cm larger all around).
4. Place the cardboard cut out in
between the two red felt circles. Now you can either use a sewing machine or
needle and thread to stitch all around the perimeter of the wing. Only the red felt should be visible from both
sides with the cardboard cutout tucked inside.
5. Draw six smaller circles on
black felt using a small glass.

I have shown white felt here since I ran out of black
felt
6. Cut out the smaller circles
using the scissors.
7. Glue the smaller circles on the
wings.
8. Attach the wing on the dress using the
thread and needle. You can use a red T-shirt and black leggings
for the ladybug colours.

This is how the finished
product should look like


Comments
Post a Comment